Every time you pay another monthly subscription, your photos, videos and documents live on someone else's computers and you depend on prices that rise without warning. Against this, Proxmox VE 9.2 offers tools that will help you set up your own private cloud securely and without needing to be a specialist in the field.
For years, setting up a home server sounded like a weekend project for engineers with free time and a closet full of noisy fans. But now, mini-PCs with low-power Intel processors have changed that picture because they consume little, take up less space than a thick novel and come with integrated graphics capable of transcoding video without breaking a sweat. If you have fiber at home and an external drive, you already have half of what you need to break free from Drive, Dropbox and Netflix at the same time.
The proposal is concrete. You install Proxmox as the base, set up Nextcloud for files, calendar and photos, and add Jellyfin for your video library with hardware acceleration. When you finish, you control your backups, your access and your electricity consumption, and you know exactly where your data sleeps when you turn off the living room light.
What is Proxmox and why does it fit a home mini-PC?
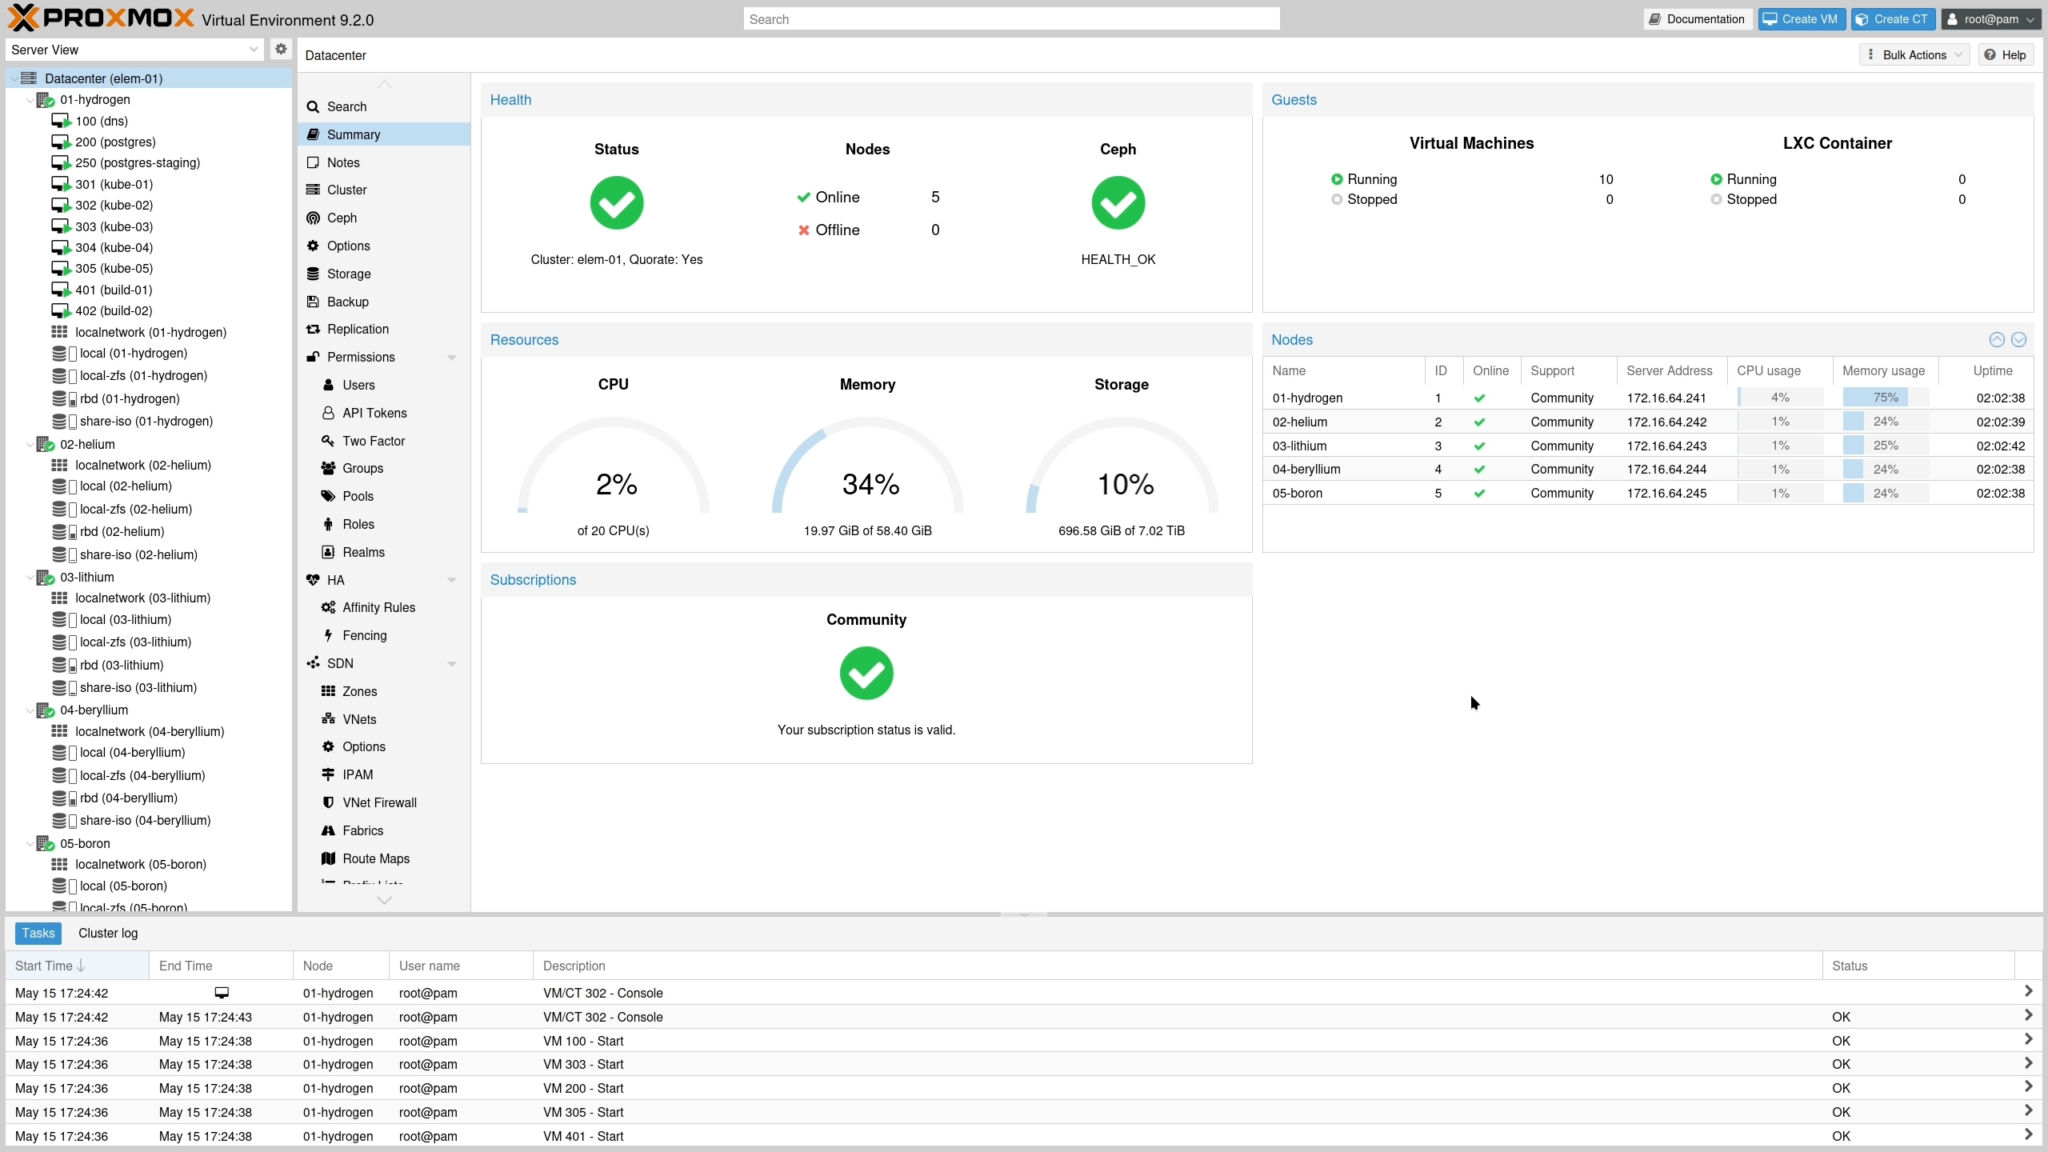
Proxmox VE is an open source virtualization system that turns one physical machine into several isolated logical machines. You install it directly on the hardware and from its web panel you create lightweight LXC containers or full virtual machines, assign them memory and disk, and turn them on or off with a click. The current version in September 2026 is the 9.2 branch, whose documentation marks revision 9.2.4 of August 4, 2026, and it is based on Debian 13 Trixie as the base system. That Debian heritage explains its stability and the long-term support that those who set up services for years are looking for.
The key lies in how it distributes scarce resources. A mini-PC with 16 GB of memory and an Intel N100 or laptop i3 doesn't impress on paper, but Proxmox makes the most of it because containers share the same kernel and barely consume anything when idle. You can dedicate 4 GB to Nextcloud, 2 GB to Jellyfin and reserve the rest for caches and future ideas without buying new hardware. This way, the machine works silently next to the router and uses between 6 and 15 watts at idle, less than many old light bulbs.
What do you need before you start?
It is worth clarifying that Proxmox is not a system to use with a mouse and windows. You manage it from your laptop's browser by typing the server's IP address and port 8006. At first that screen is intimidating because it shows nodes, storage and networks, but for home use you only need three buttons. Create container, start and console. The rest of the options can wait for months without anything serious happening.
Don't buy anything until you check the drawer. Many readers already have a mini-PC or a desktop PC sitting idle, a 500 GB SSD and a 2 TB USB drive that will do for the first version. The problem is that the excitement cools when a cable is missing or when the chosen disk falls short after three months. Spend an afternoon gathering parts and copying your important photos to a second location before touching anything.
| Component |
Minimum that works |
Recommended for breathing room |
Practical notes |
| Mini-PC |
4-core Intel with 8 GB of RAM and a 256 GB SSD |
Intel N100 or higher with 16 GB of RAM and a 500 GB NVMe |
Intel graphics help with Jellyfin and Quick Sync |
| Storage |
1 TB USB drive for data |
Internal HDD or NAS of 2 to 4 TB plus an external copy |
Separate system and data from day one |
| Network |
Wired connection to the router |
Cable plus a fixed IP and open ports only if you access from outside |
The cable prevents interruptions during installation |
| Backup |
An external drive for the first copy |
Two copies in different places and a restore test |
Without a tested backup there is no private cloud, only hope |
An 8 GB USB stick
You also need an 8 GB USB stick for the installer, another computer to download the ISO and about twenty minutes of physical access to the router. Download the image from the official Proxmox VE 9.2 page and verify its checksum before writing it with Balena Etcher or Ventoy. If your mini-PC only boots in modern UEFI mode, temporarily disable secure boot because the installer will thank you and you can re-enable it afterwards without drama.
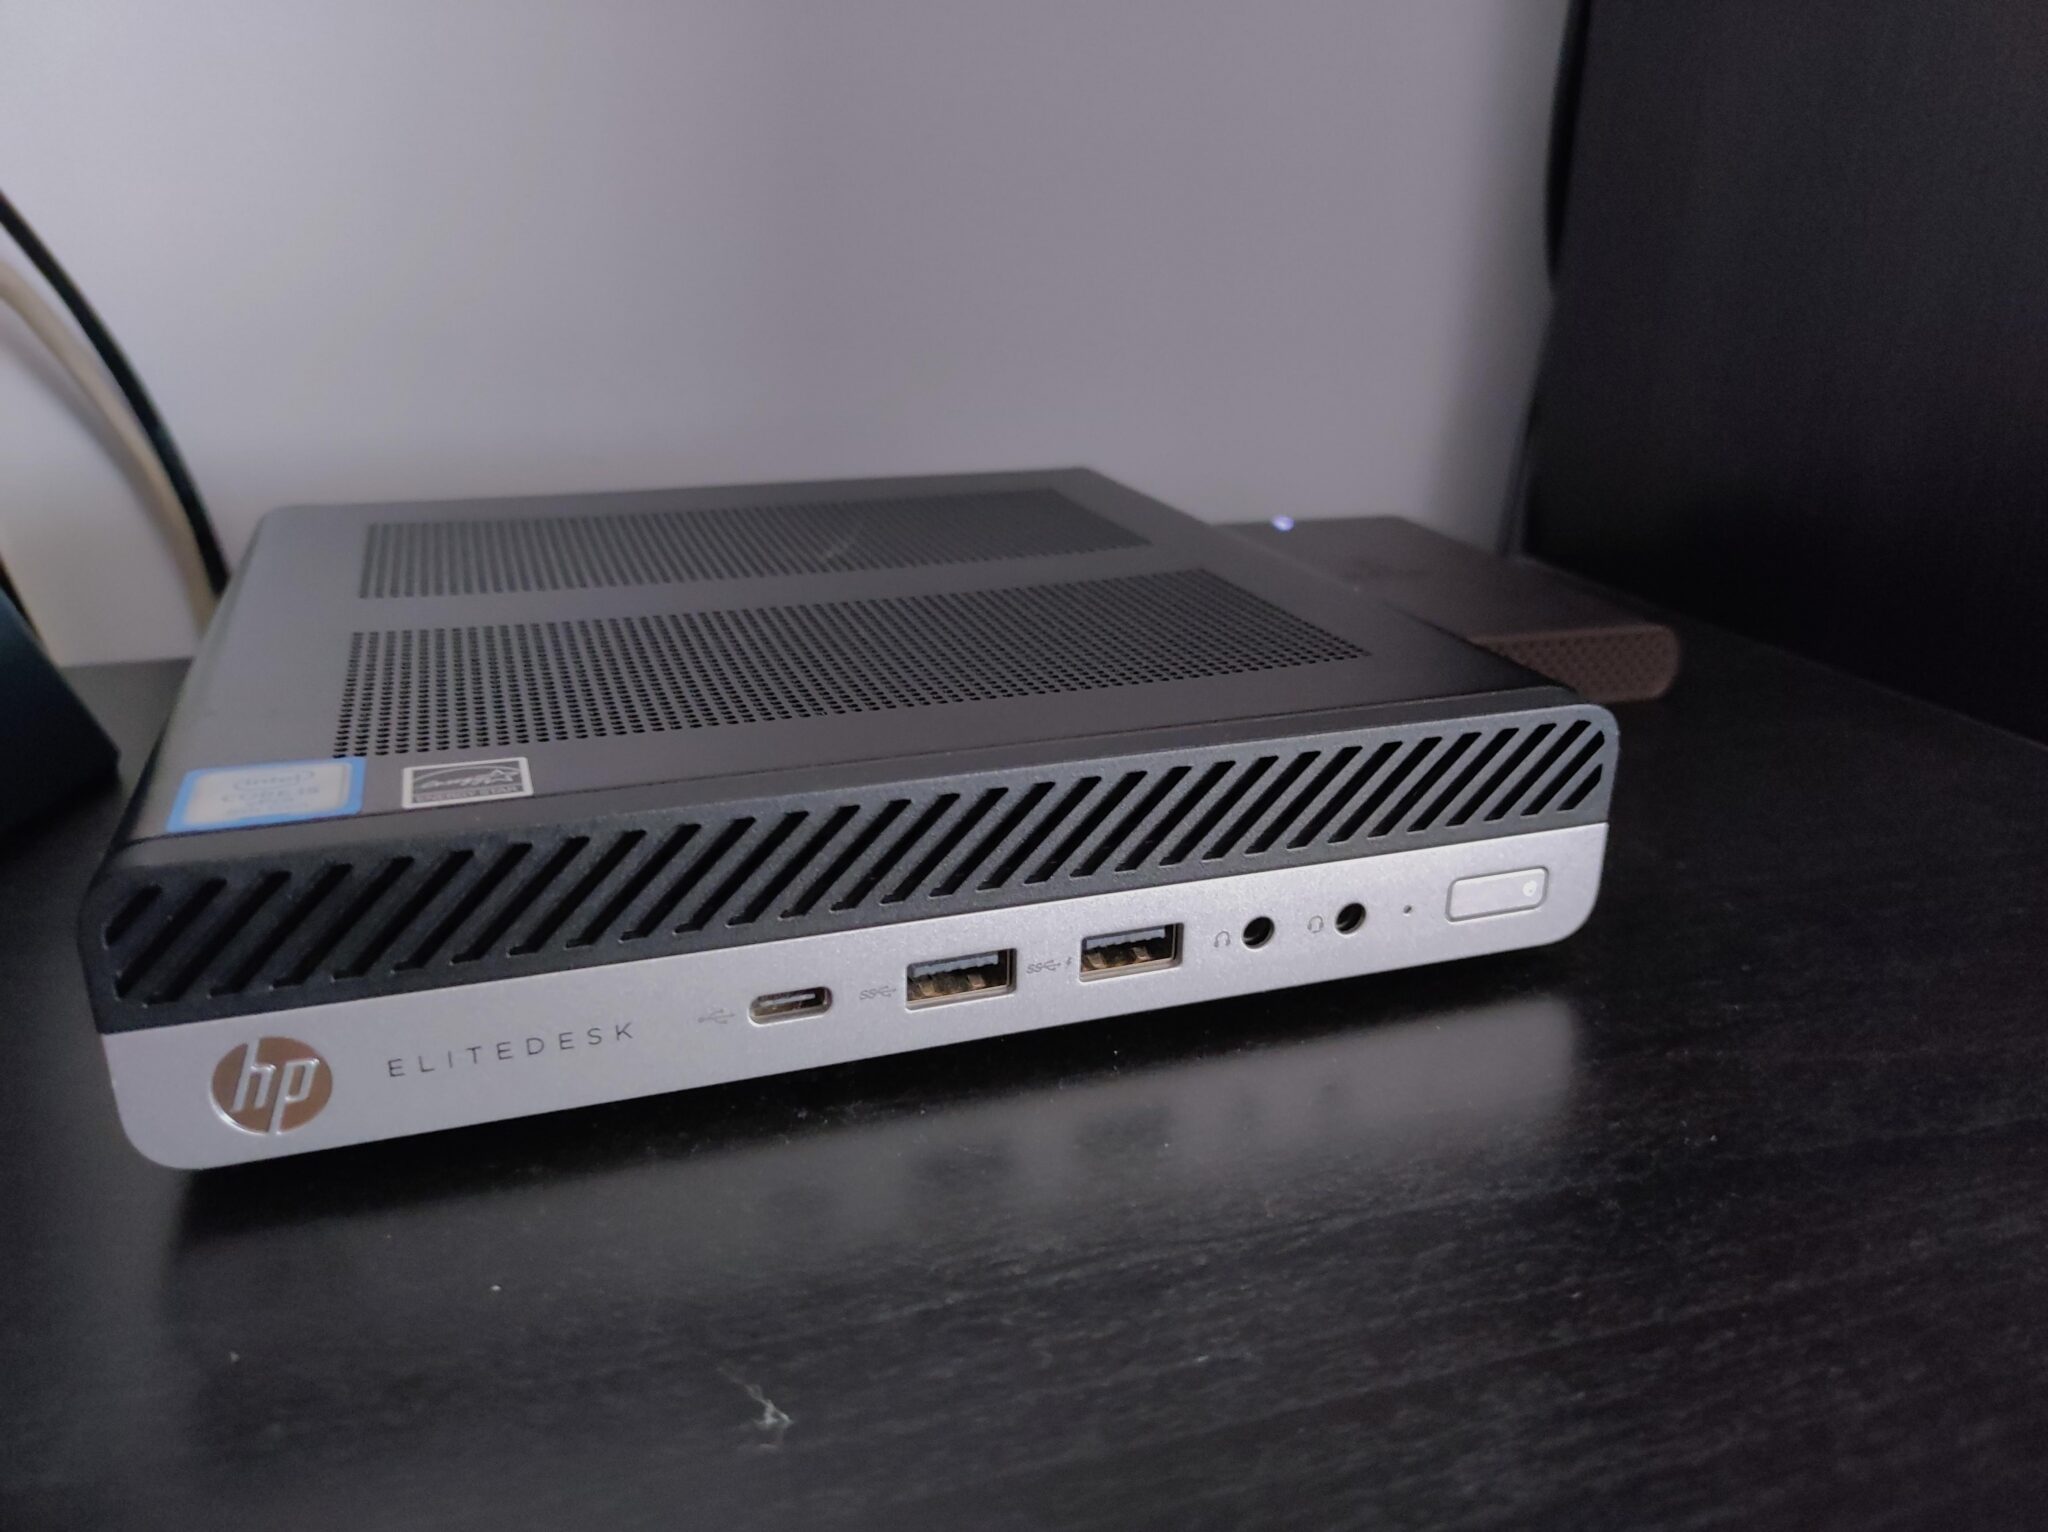
Consumption and noise rule in the living room. Place the machine on a ventilated shelf, away from heat sources, and enable automatic power-on after a power cut in the BIOS so the server comes back on its own when the power returns. That option is called Restore on AC Power Loss on many boards and saves you trips to the TV cabinet every time there is a summer storm.
How to turn any USB into a permanent multiboot drive with Ventoy
How to install Proxmox VE 9.2 without fighting the BIOS?
Connect the mini-PC by cable, plug in the USB with the ISO and boot by choosing the USB as the temporary device with the F7, F12 or Escape key depending on the brand. The Proxmox installer asks for language, target disk, country, root password and a fixed IP address within your local network, for example 192.168.1.50. Write that address down on paper because it will be your gateway for years. The full installation takes between ten and fifteen minutes and ends with a reboot that ejects the USB.
Open https://server-ip:8006 in your laptop's browser (you can see the server's IP on the screen connected to it), accept the self-signed certificate warning and log in with the root user and the password you chose. You will see the panel with your node's name on the left and a summary of CPU, memory and storage. First change the enterprise repository to the no-subscription repository from the updates tab if you don't plan to pay for support, and click update to bring the system up to date. That monthly patch routine protects you more than any exotic antivirus.
Create your first container with the Create CT button and choose a Debian 12 or Ubuntu 24.04 template downloaded from the templates section. Assign a numeric identifier, 1 GB of memory and 8 GB of disk for testing, and start the machine to enter through the console and run a ping to your router. If it responds, the network works and you have already mastered the full cycle.
How to set up Nextcloud and Jellyfin in separate containers?
Nextcloud Hub 26 Summer, presented on September 16, 2026 as server version 35.0.0, brings together files, photos, calendar, contacts and office editing in a single web interface that you control. The most stable route in Proxmox is to dedicate an LXC container to it with 4 GB of memory, 2 cores and a 32 GB virtual disk for the system, plus a mount point to your large data disk.
In Proxmox there isn't much to search for; the best way to install things is Proxmox Community Helpers Scripts, a website where the Proxmox user community has a complete collection of scripts that automate the installation of tools, and which at this point has nearly 700 different applications.
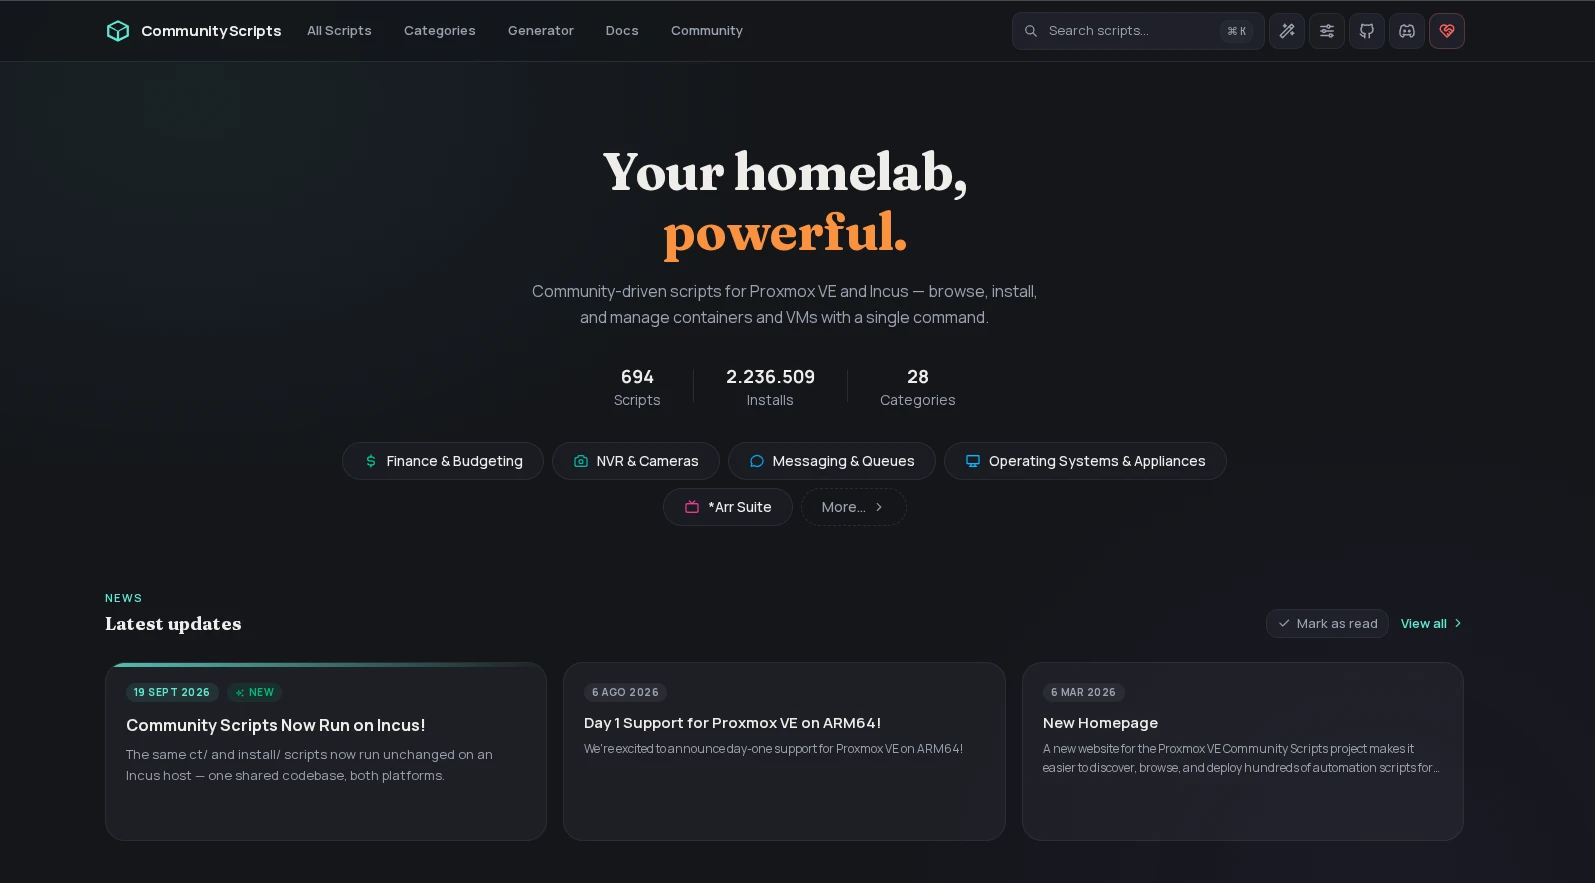
Why is it the best? Because you simply search for the application, copy the command and hit run in your Proxmox console, follow the instructions (very simple, in fact) and with that you already have what you want running.
The script takes care of everything. At the end, you only need to open the Nextcloud web wizard from your computer and register your administrator user with a long password saved in a password manager. Then enable two-step verification, the Photos app with local recognition and mobile sync, which lets you free up space on your phone without giving your memories away to third parties.
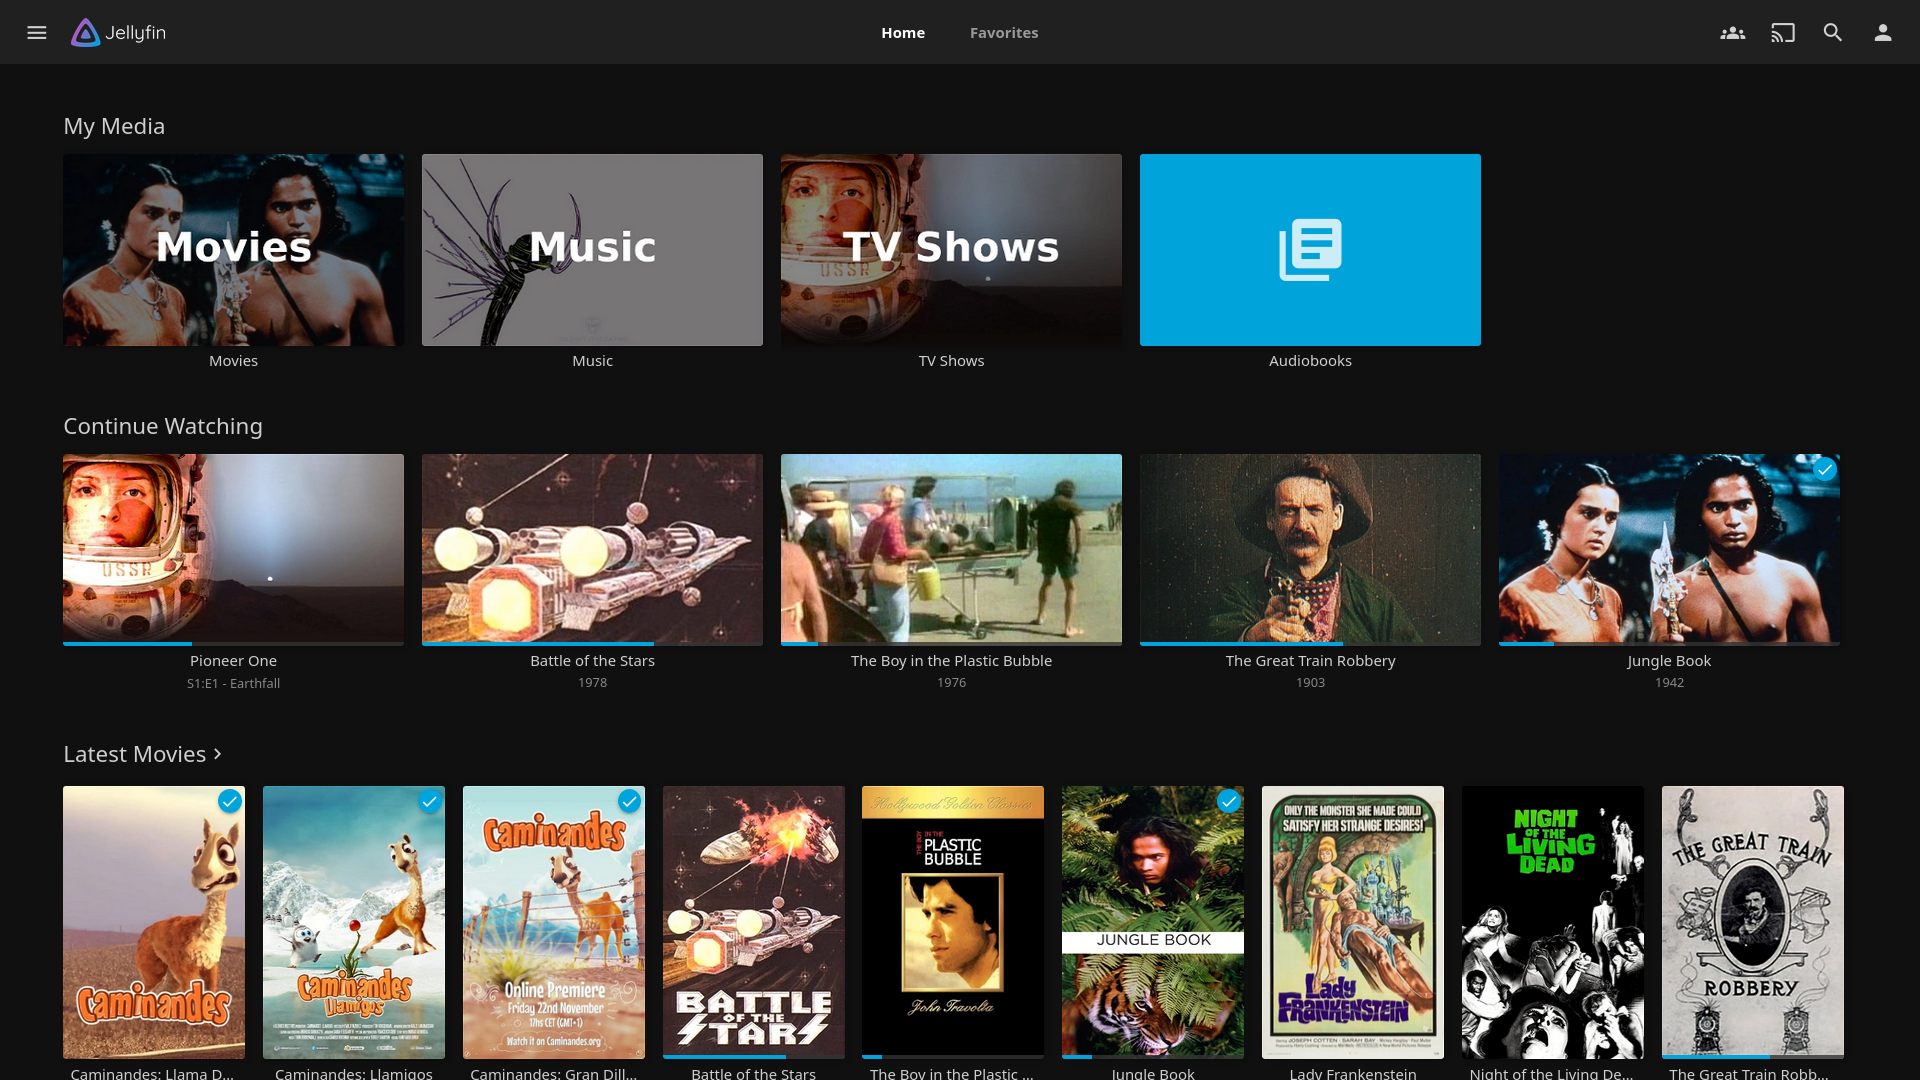
But if what you want is a free multimedia server that organizes your movies, series and music with covers and synopses, and serves them to the TV, the phone or a guest's browser, Proxmox with Jellyfin lets you do it. That said, you should install it in another container with access to the same video disk, but without write permission, so that a mistake doesn't erase your collection. The official hardware acceleration documentation recommends Intel Quick Sync on modern hardware and reserves VA-API as a compatibility route for older generations.
To take advantage of the integrated GPU you must pass the render device to the container from Proxmox and check inside that the path to it exists (usually /dev/dri/renderD128). In Docker installations the usual recipe maps that device and adds the user to the video group, as detailed in the Jellyfin guide with Quick Sync on Ubuntu updated on July 2, 2026.
5 free software programs that simplify your digital life
Then you choose Quick Sync in Jellyfin's playback and transcoding panel, enter the same device path and test with a 4K video that previously struggled. The official tutorial for Intel GPU explains the differences by generation and helps you adjust the HDR color tone.
The Jellyfin app on the television
The internal network ties the pieces together. Point your phone's Nextcloud client to the local IP or to your domain with HTTPS, and do the same with the Jellyfin app on the television. If you want to access from outside the home, set up a tunnel with Tailscale or WireGuard before opening ports on the router, because exposing panels without encryption invites unwanted visitors. That private access layer lets you view your files on the train without giving the Proxmox panel away to the whole internet, and you'll be grateful for it; after all, there's nothing like taking your digital home wherever you go.