As of August 2026, its latest stable version is 7.6.4, released on July 20, built on .NET 10 and thereby becoming one of the most powerful tools in Windows, both for regular users and for developers.
What is PowerShell and why does it beat the command prompt?
PowerShell is a task shell and a scripting language built on .NET. Its central idea, set out in the Monad Manifesto that preceded version 1.0, is to treat the command line not as a stream of text but as a stream of objects. Whereas the classic command prompt (CMD) exchanges text strings that have to be parsed by hand, PowerShell commands, called cmdlets, return .NET objects with accessible properties and methods.
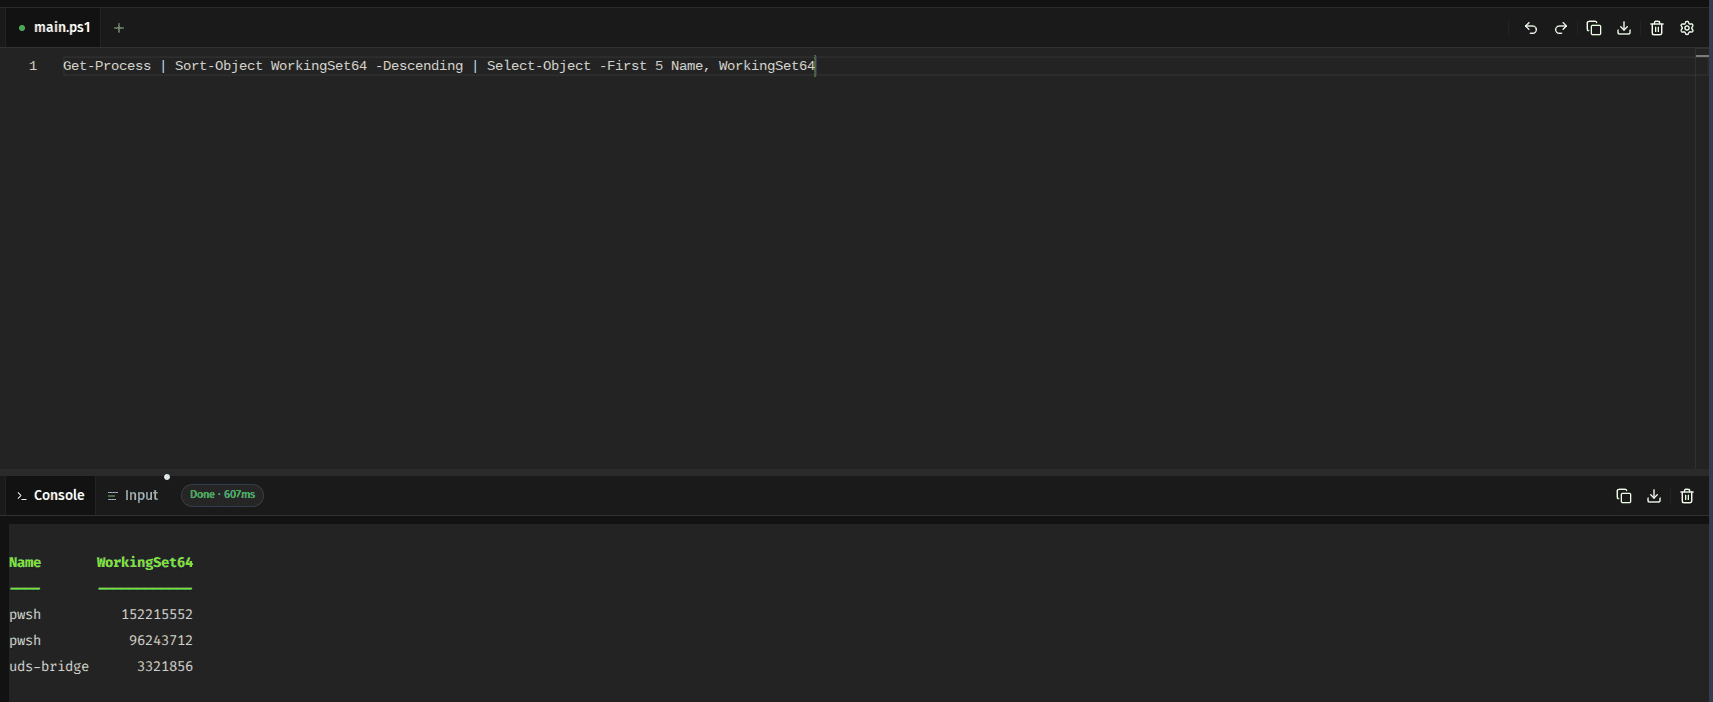
This difference is not merely cosmetic. When you run, for example, Get-Process, to list running processes, you do not get an inert text table: you get a collection of process objects that you can filter, sort and chain with other commands without writing a single regular expression. The pipeline (|) passes objects, not text, which turns complex tasks into a single readable line. For example, this line lists the five processes consuming the most memory:
Get-Process | Sort-Object WorkingSet64 -Descending | Select-Object -First 5 Name, WorkingSet64
Add to this the providers, which let you browse system resources as if they were disk drives. HKLM:\, Env:\ or Cert:\ are explored with the same Get-ChildItem or Set-Item you use to navigate C:\. With them, things like the Windows registry, environment variables and certificates stop being forbidden territory; everything can be handled using PowerShell.
How to install PowerShell 7 on Windows?
Windows 11 already ships with Windows PowerShell 5.1 out of the box, but to enjoy the advantages of the modern branch you have to install PowerShell 7. Microsoft's recommended method for user machines is winget, the package manager included in Windows 11 and Windows Server 2025 as part of the App Installer.
Using it is very simple: just open a Windows PowerShell (or CMD) window and run:
winget install --id Microsoft.PowerShell --source winget
Since version 7.6.0, winget installs the MSIX package by default. But if you prefer the classic MSI installer, for example in enterprise or server environments, use:
winget install --id Microsoft.PowerShell --source winget --installer-type wix
Once installed, it runs with the pwshcommand. It is worth distinguishing it from powershell.exe, which always invokes the version 5.1 bundled with the system.
Other versions
There are other installation paths depending on the scenario. The MSI package downloadable from GitHub is the preferred option for Windows servers and enterprise deployments.
The MSIX, also installable from the Microsoft Store, is the simplest for occasional users. The ZIP lets you download portable versions. And .NET developers can install it as a global tool with dotnet tool install --global PowerShell. The first three options are summarized in the table:
| Method |
When to use it |
| winget |
Windows 11/10 users — recommended |
| MSI |
Servers and enterprise deployments |
| MSIX / Microsoft Store |
Occasional users |
| ZIP |
Portable, multiple versions, ARM |
Why is it convenient for desktop users?
Now, you are probably thinking that PowerShell is a tool only for developers, but the reality is that desktop users can benefit from it too. After all, PowerShell offers two immediate advantages: one-line administration tasks and a built-in application installation assistant.
Tasks such as browsing the system, checking the machine's status or diagnosing problems are tasks that in File Explorer or the settings panels require several clicks and windows. In PowerShell a few words are enough, and you can even schedule them. For example, to find out how much free memory there is, you just type:
Get-CimInstance Win32_OperatingSystem | Select-Object FreePhysicalMemory, TotalVisibleMemorySize
Or you can make a function:
function Get-RAM { Get-CimInstance Win32_OperatingSystem | Select-Object FreePhysicalMemory, TotalVisibleMemorySize }
And now simply by using Get-RAM you can find out the free RAM on your system.
If, for example, you want to list the services that are stopped on your system, something that in the services manager means filtering manually:
Get-Service | Where-Object Status -eq 'Stopped' | Select-Object Name, DisplayName
Or you can write it this way:
function List-Stopped-Proc { Get-Service | Where-Object Status -eq 'Stopped' | Select-Object Name, DisplayName }
And then use it just by running List-Stopped-Proc.
This certainly helps simplify system administration, just as happens on Linux or macOS, two systems where the command shell is tightly integrated and also makes this kind of task very easy.
Why is it useful for developers?
For developers, PowerShell is the glue between the operating system and their tools. It is used to automate machine provisioning, manage environment variables, invoke build tools, run integration tasks and orchestrate complete development environments, not to mention that it is the engine behind tools like GitHub Actions when running on Windows runners, and behind Azure DevOps deployment flows.
Add to this that the module ecosystem extends the shell without limits. Microsoft publishes official modules for Azure (Az), Office 365 management, SQL Server, AWS (AWSPowerShell.NetCore) and dozens more services, installable from the module gallery. In PowerShell 7.6, module management is handled by PSResourceGet 1.2.0, which replaced the veteran Install-Module and brings performance and dependency-handling improvements.
A particularly valuable capability is that PowerShell can invoke both native Windows tools and, through WSL, Linux tools. This turns the shell into a single control point for a mixed workflow: you edit on Windows, compile with Linux toolchains and automate everything from the same script.
Practical example 1: installing applications with winget
Winget, the Windows package manager, is best handled from PowerShell and turns software installation into a repeatable, verifiable operation. Instead of downloading installers from each website and clicking through wizard after wizard, you type one line.
To search for an application:
winget search git
To install a specific package, specifying the exact identifier:
winget install --id Git.Git --source winget
The system verifies the installer's hash before running it —an integrity guarantee that manual downloading does not offer— and manages subsequent updates centrally:
winget upgrade --all
The real power appears when it is combined with the PowerShell language. To install the usual set of tools on a new machine in a single command:
$apps = @('Microsoft.VisualStudioCode', 'Git.Git', '7zip.7zip', 'VideoLAN.VLC') foreach ($app in $apps) { winget install --id $app --accept-source-agreements --accept-package-agreements }
You can even generate an installation list from a reference machine and reproduce it on others, which makes PowerShell + winget a lightweight substitute for custom system images. It is the most practical way to use Windows as a desktop user: fewer clicks, fewer junk installers and a clear inventory of what is installed (winget list).
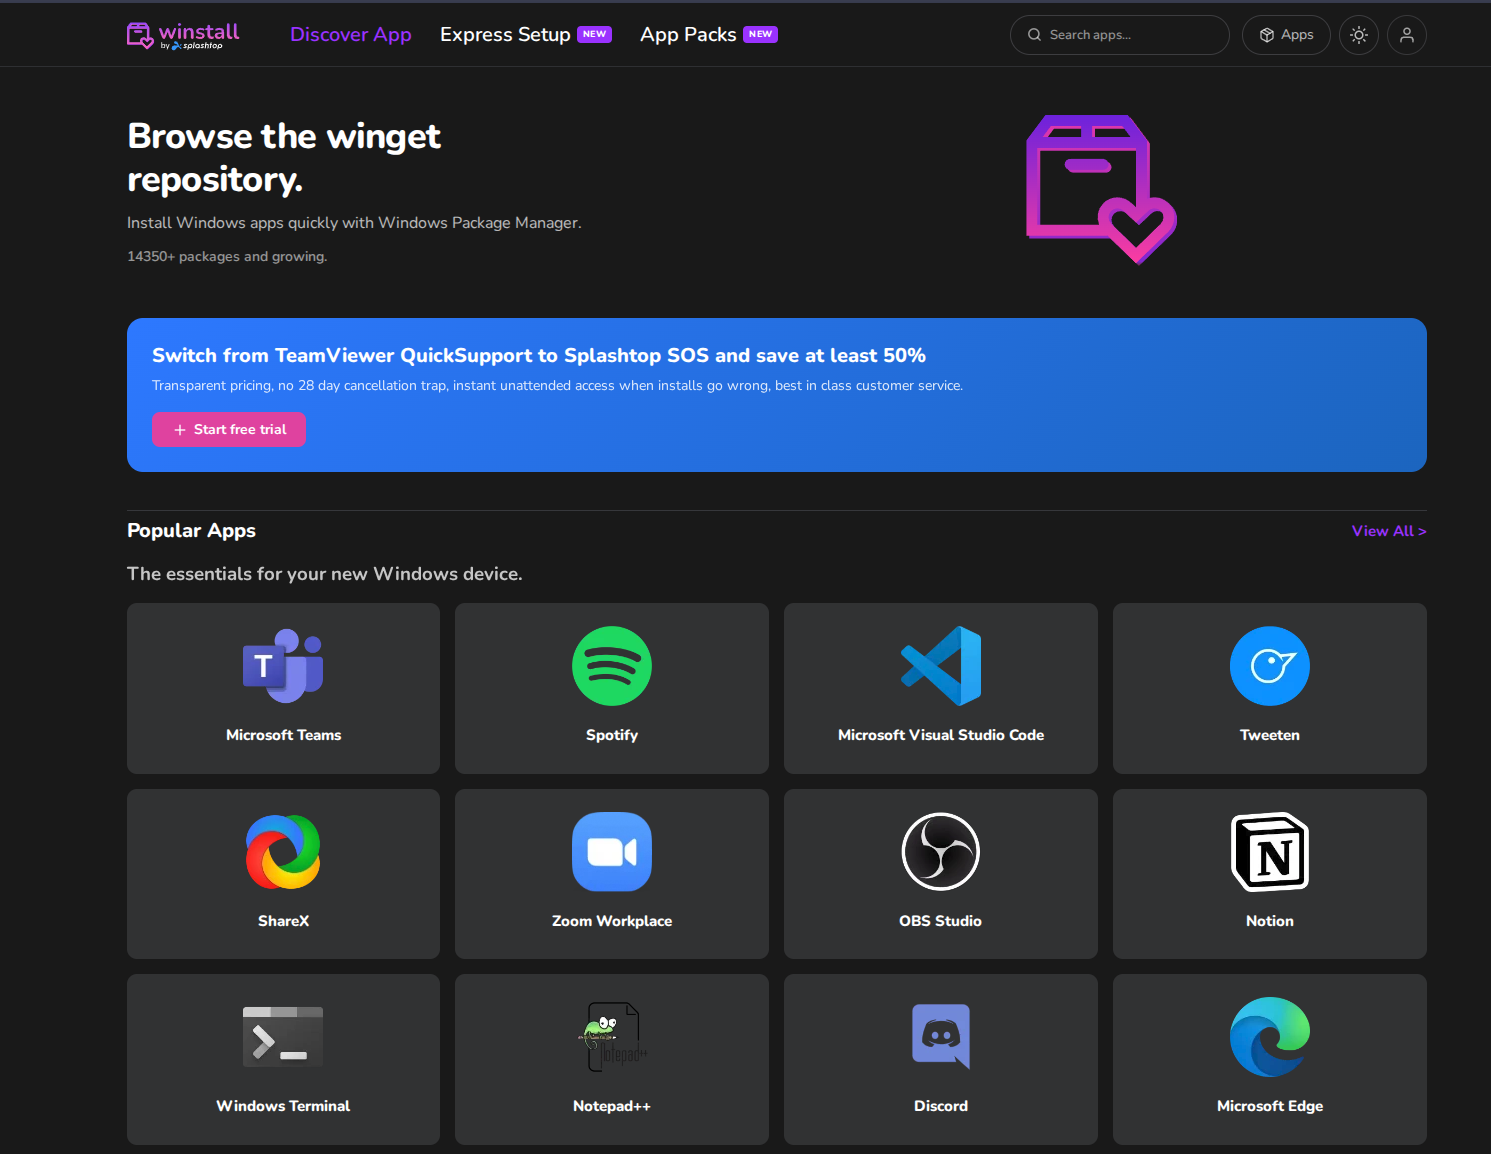
If you want a complete list of applications you can install with this system, you can check the Winstallwebsite, where you will find applications that can be installed this way.
Practical example 2: setting up a development environment with WSL2
WSL (Windows Subsystem for Linux) lets you run a real Linux kernel inside Windows, without the overhead of a traditional virtual machine. With WSL2 —the default architecture since 2020— you get full compatibility with Linux system calls, which means Node.js, Python, Docker and Linux toolchains work as-is. And best of all: the entire installation process is controlled from PowerShell.
The command to install WSL2 and a default Ubuntu distribution is:
wsl --install
It requires Windows 10 version 2004 (build 19041) or later, or Windows 11. The command enables the optional WSL and Virtual Machine Platform components, downloads and installs the Linux kernel, sets WSL2 as the default version and installs Ubuntu. The system will likely ask you to restart.
If you prefer another distribution, first check the available ones:
wsl --list --online
And install the chosen one:
wsl --install -d Debian
After the restart and creating the Linux user, check the status with:
wsl --list --verbose
Installing and using Linux on Windows with PowerShell
Now comes the part that changes developers' day. With the Linux system inside Windows, you can update and install tools directly in Ubuntu from PowerShell. First you enter the distribution:
wsl -d Ubuntu
And inside it you update the packages and install the development tools:
sudo apt update && sudo apt upgrade -y sudo apt install -y build-essential curl git curl -fsSL https://deb.nodesource.com/setup_22.x | sudo -E bash - && sudo apt install -y nodejs
But the greater magic is interoperability: Linux commands can be run from PowerShell without entering Ubuntu. These three lines, launched from pwsh, show how the shell unifies both worlds:
wsl node --version wsl -e sh -c "git clone https://github.com/ejemplo/proyecto.git && cd proyecto && npm install" wsl docker --version
To work comfortably, Windows Terminal —included in Windows 11— shows tabs for PowerShell and for each WSL distribution, and Visual Studio Code with the WSL extension connects the editor to the remote Linux file system. The result is a complete development environment with the right tool for each task: the Linux command line when it is time to compile and run, and PowerShell when it is time to administer the Windows system that supports it.